

How do I Purchase Philcoin?
How do I Purchase Philcoin?
Give-to-earn is a new way to do good and get rewarded. It's a blockchain-based concept that incentivizes people to donate to charities and support social causes.


I am intrigued by the idea of Give to Earn. Donating to charities and social causes. As mentioned above, you can earn PHIL tokens for your donations. The more you donate, the more PHIL tokens you earn.
Supporting other users' donations. You can use your PHIL tokens to support other users' donations to charities and social causes. This is a great way to multiply your impact and earn even more PHIL tokens.
Staking PHIL tokens. You can stake your PHIL tokens to earn rewards. Staking is a process of locking up your tokens for a period of time to help secure the Philcoin network. In return, you earn rewards in the form of additional PHIL tokens.
Using PHIL tokens to purchase goods and services. Philcoin is a utility token, which means it can be used to purchase goods and services from merchants who accept it. As the Philcoin ecosystem grows, more and more merchants are likely to accept PHIL tokens. This means that you can use your PHIL tokens to save money on your purchases.
Trading PHIL tokens on exchanges. You can also trade PHIL tokens on cryptocurrency exchanges. If the price of PHIL tokens goes up, you can sell your tokens for a profit.
Let’s go over how to purchase PHILCOIN. You need the following things setup:
MetaMask (MM) Wallet
PHILCOIN App
Crypto.com or another on-ramp to purchase BNB to acquire PHILCOIN.

We will begin by downloading PHILApp from the App Store. You can use Android or IOS. Since I have an iPhone, I am using iOS.
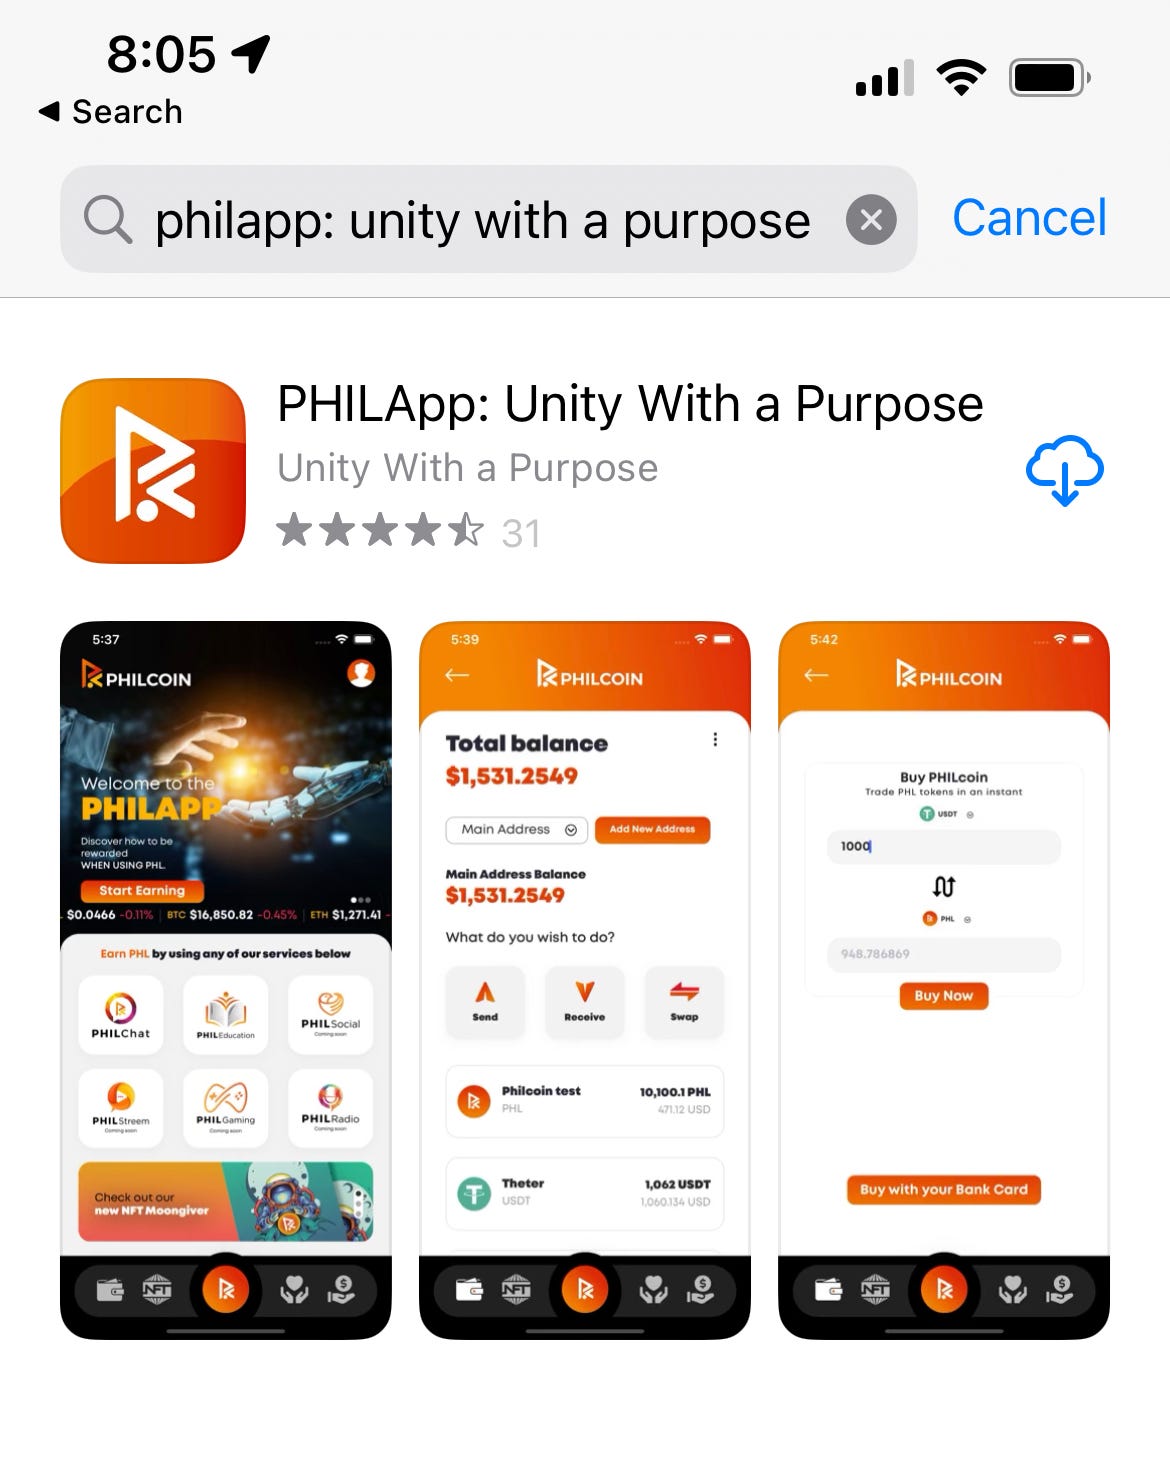
Tap PHILApp
Tap Next twice.
Tap Register Now.
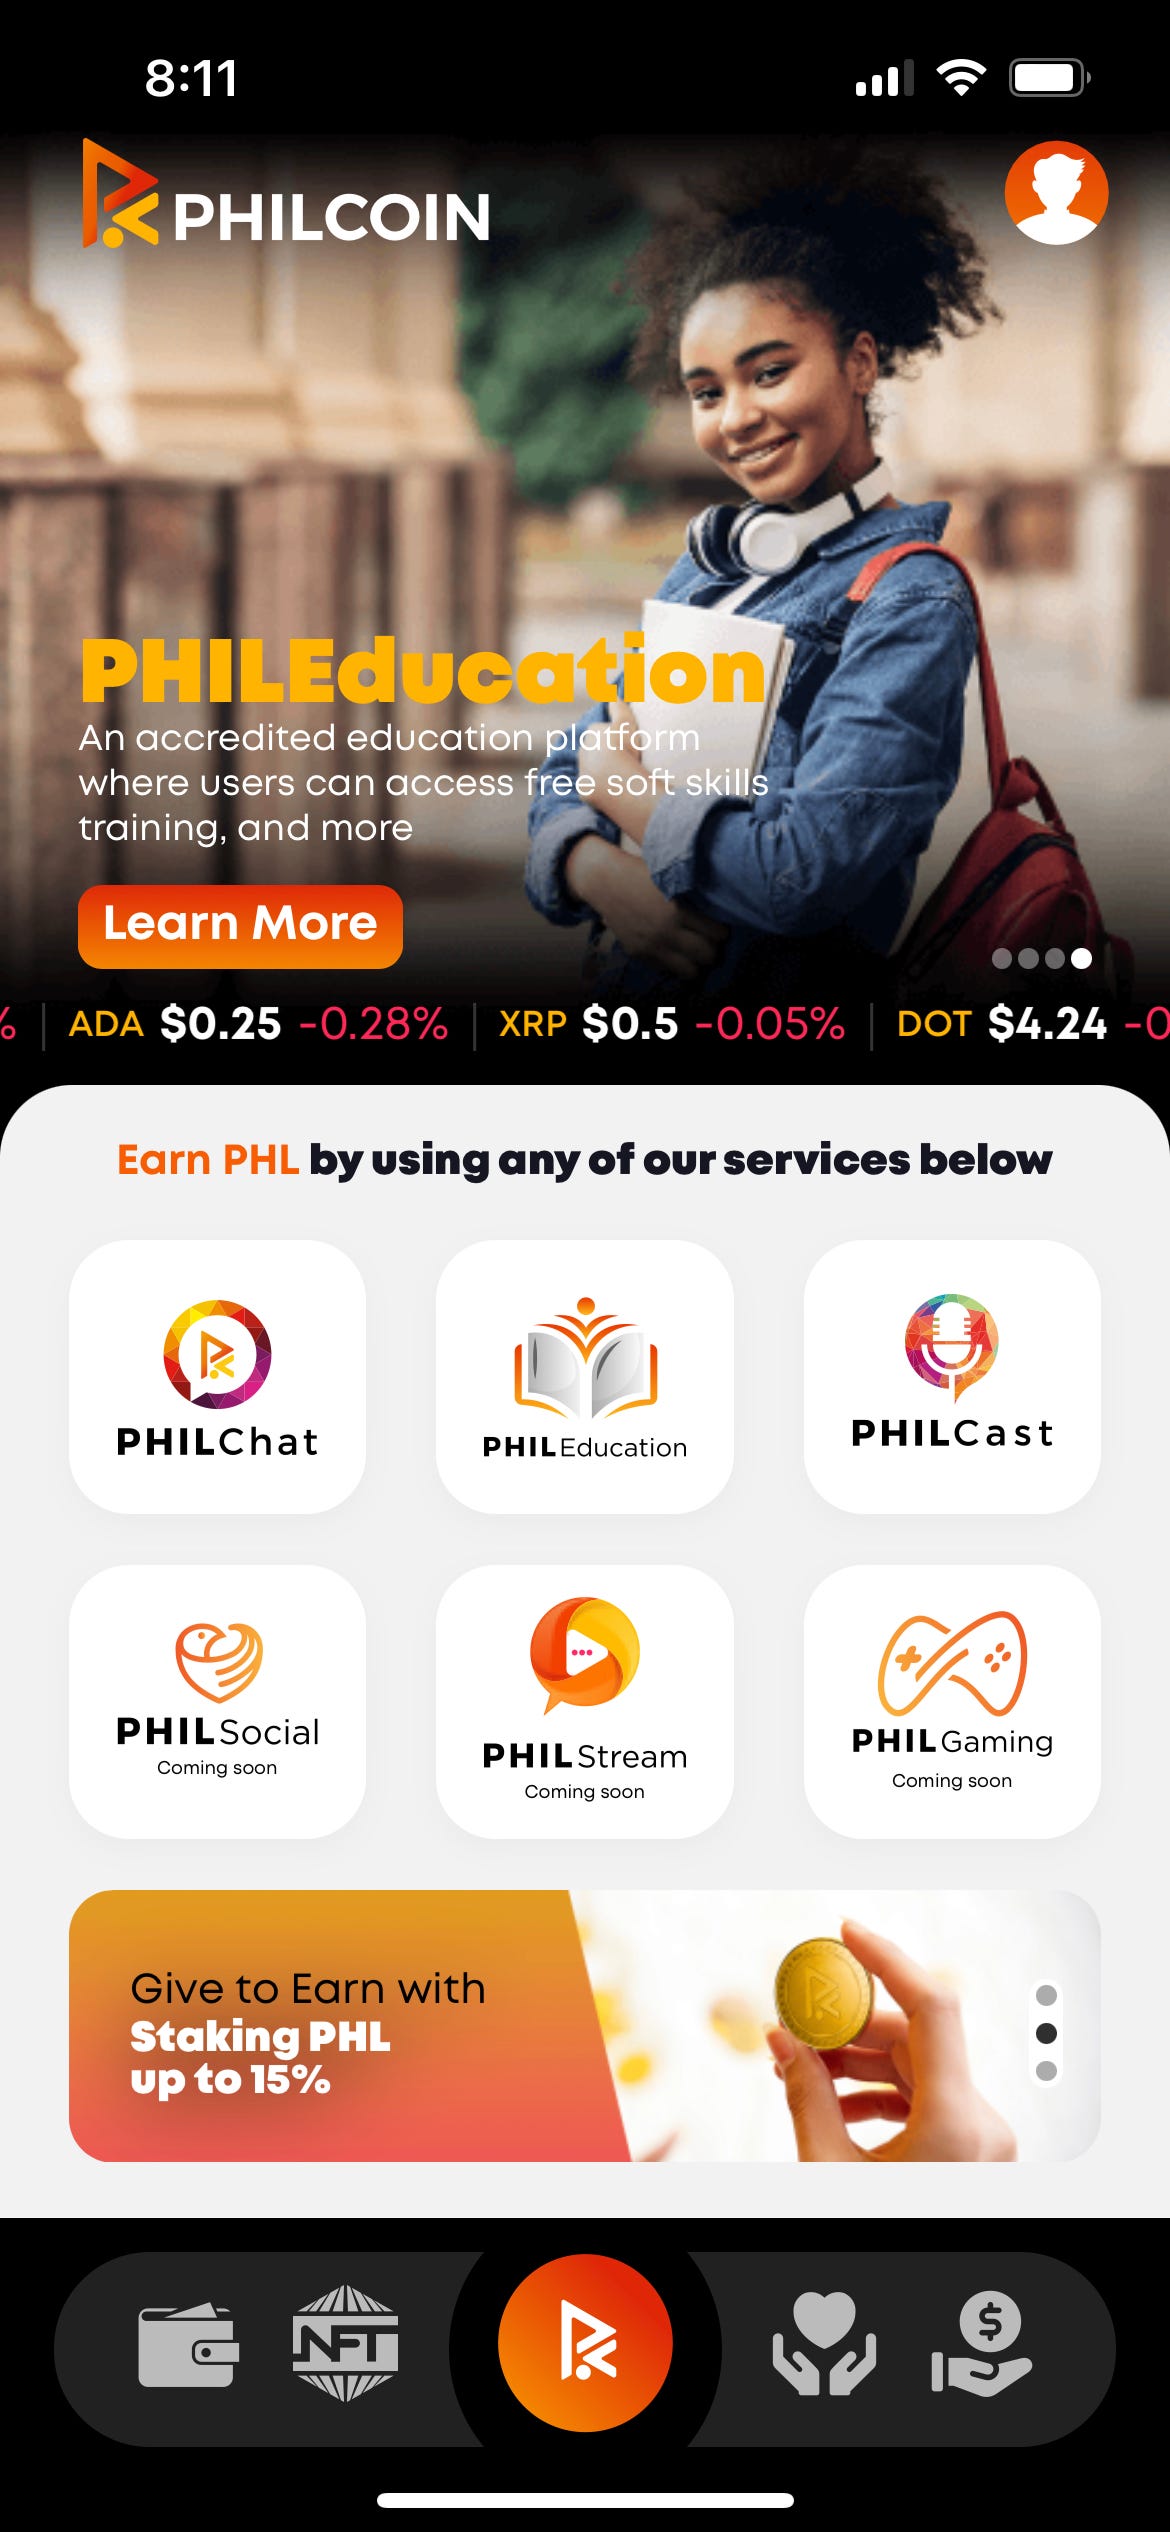
Once you complete the registration, You will get access to the app as shown below:
Tap the wallet icon on the far-left and tap Create a New Wallet.

Next, walk through the process to get a wallet as shown below:
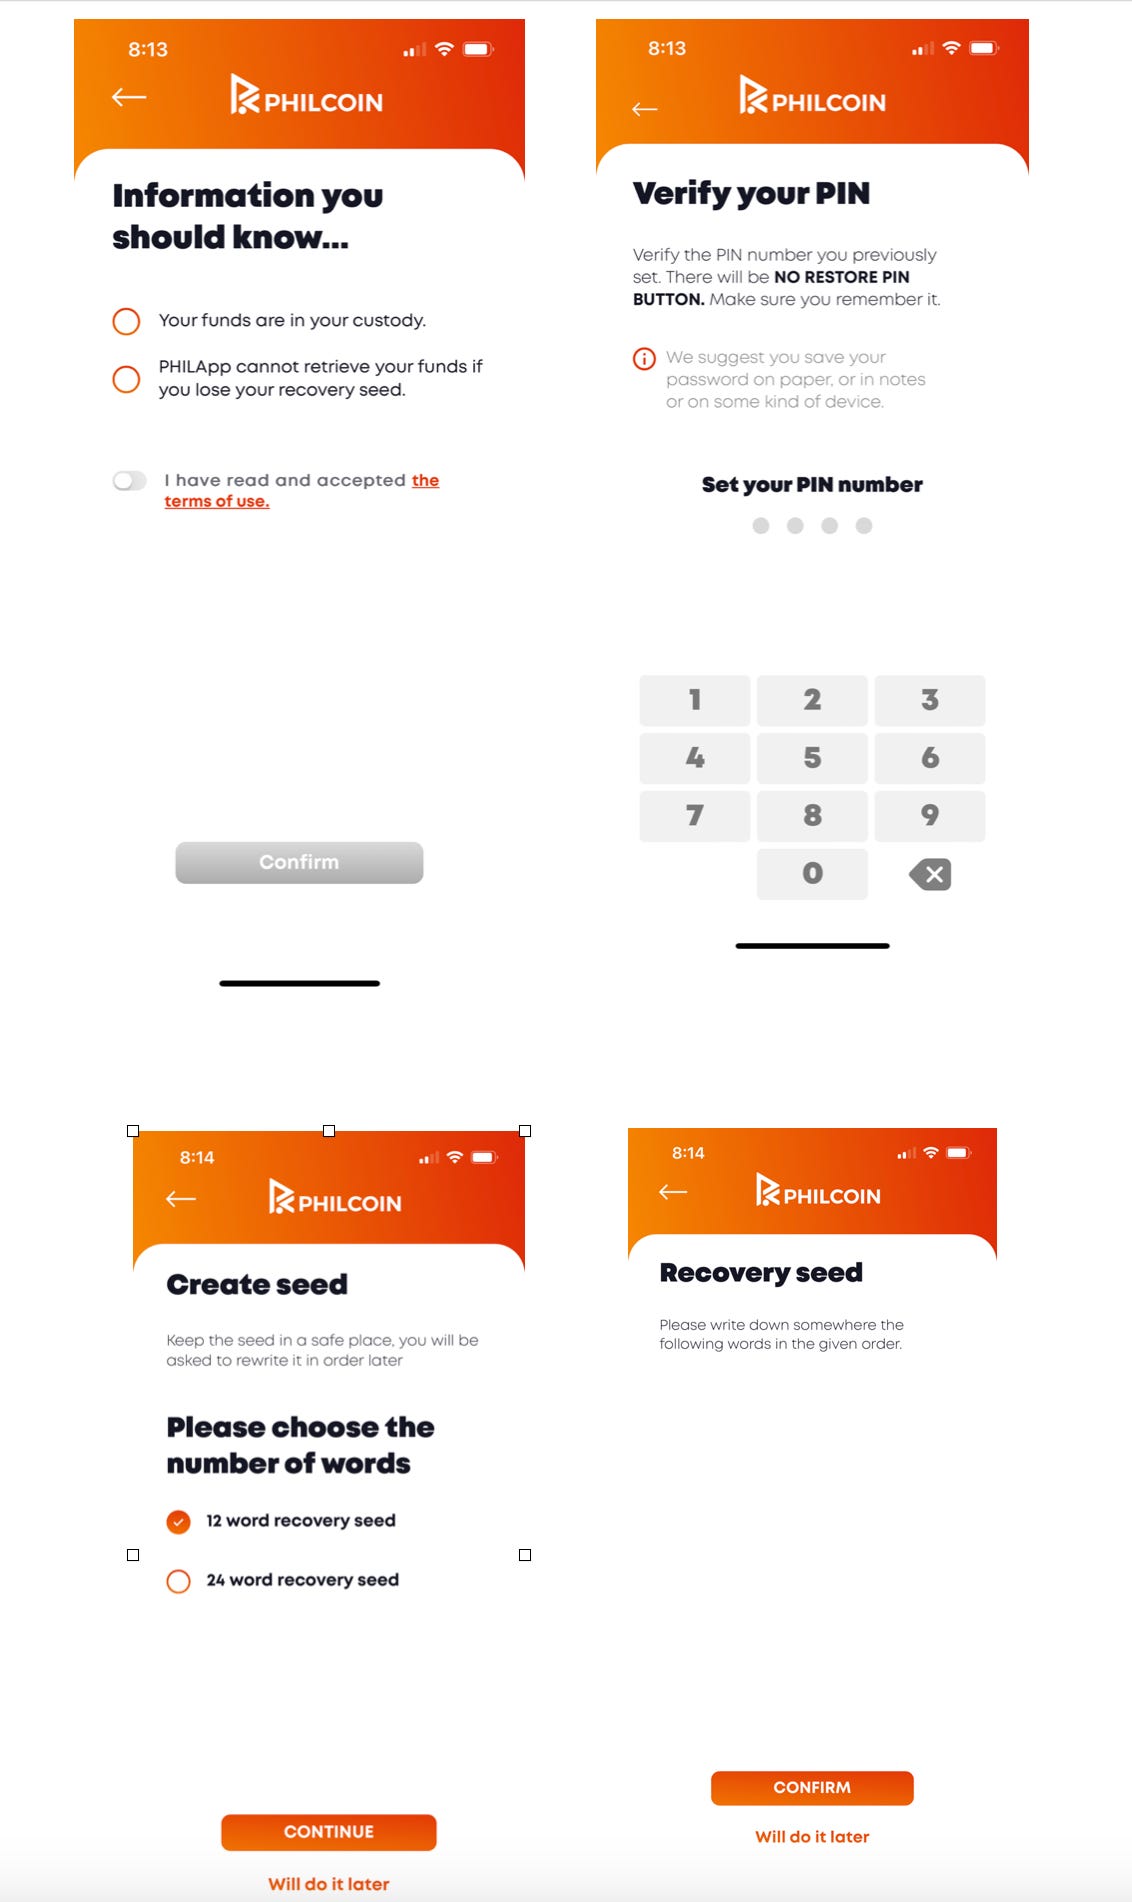
NOTE: NEVER SHARE YOUR RECOVERY SEED. PLEASE WRITE IT DOWN IN A SAFE PLACE AND DO NOT LOSE.

Once, you are done, you will now have a wallet in PHILApp.

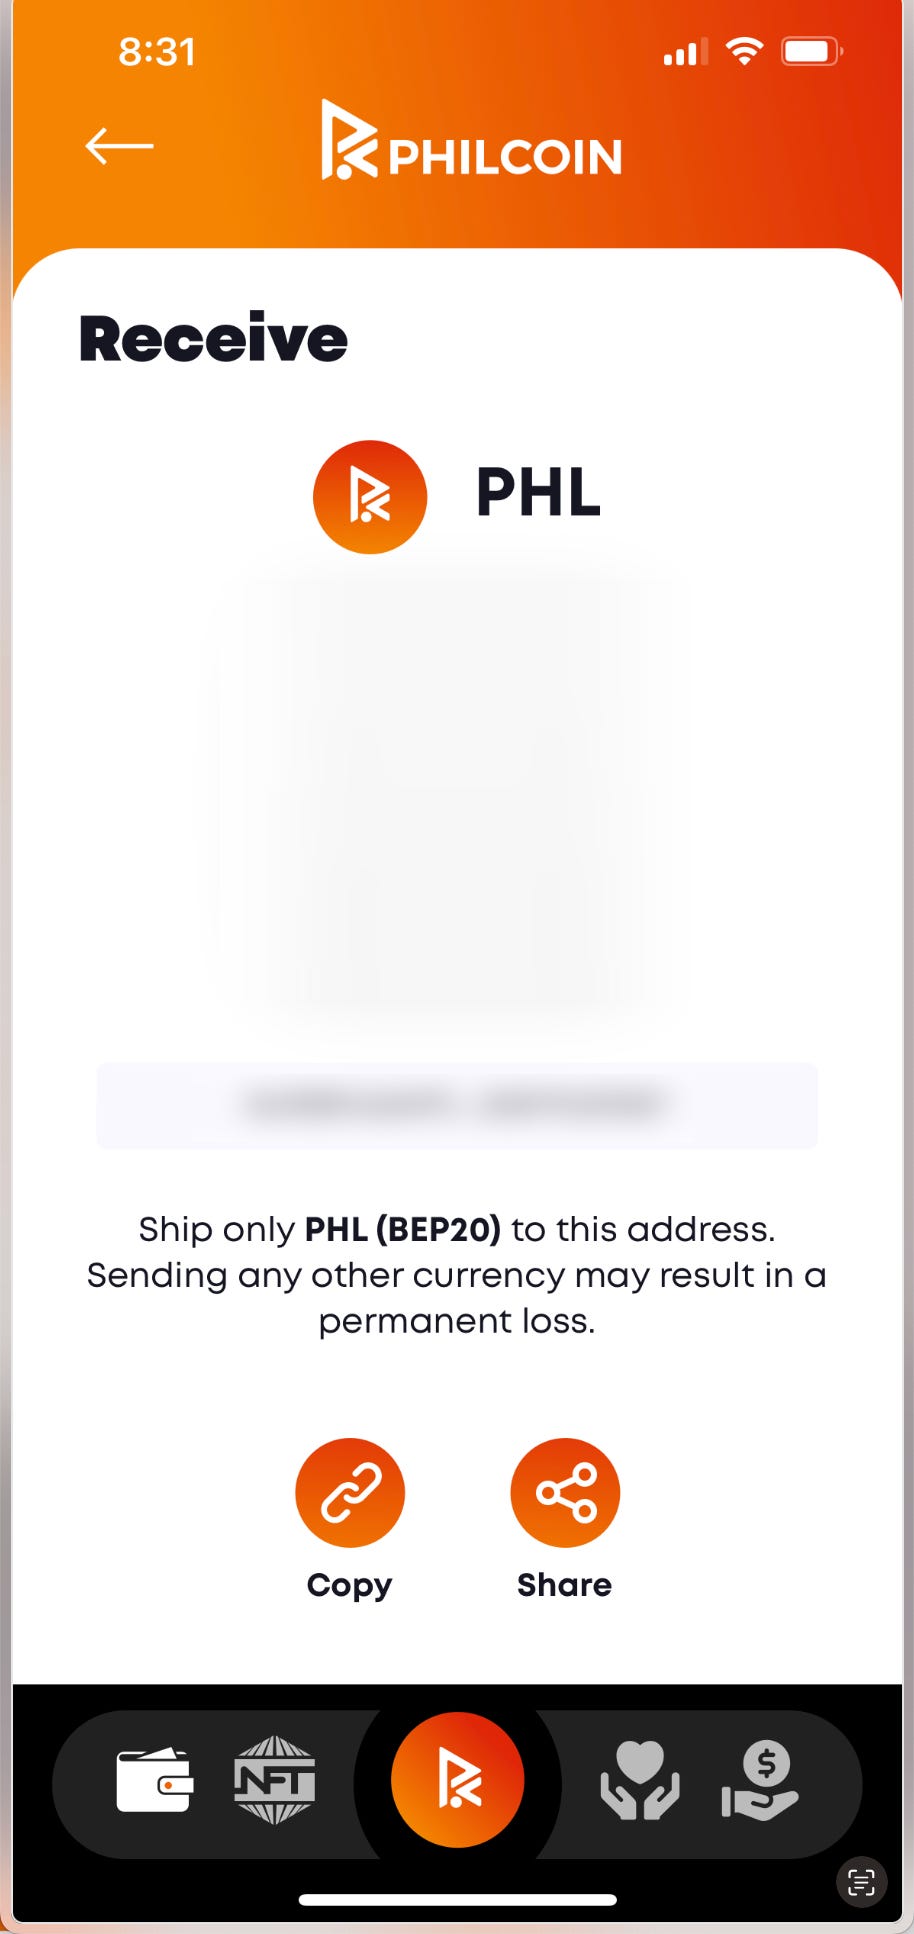
You can now tap Receive to get your valid address. You will need this to purchase PHILCOIN.
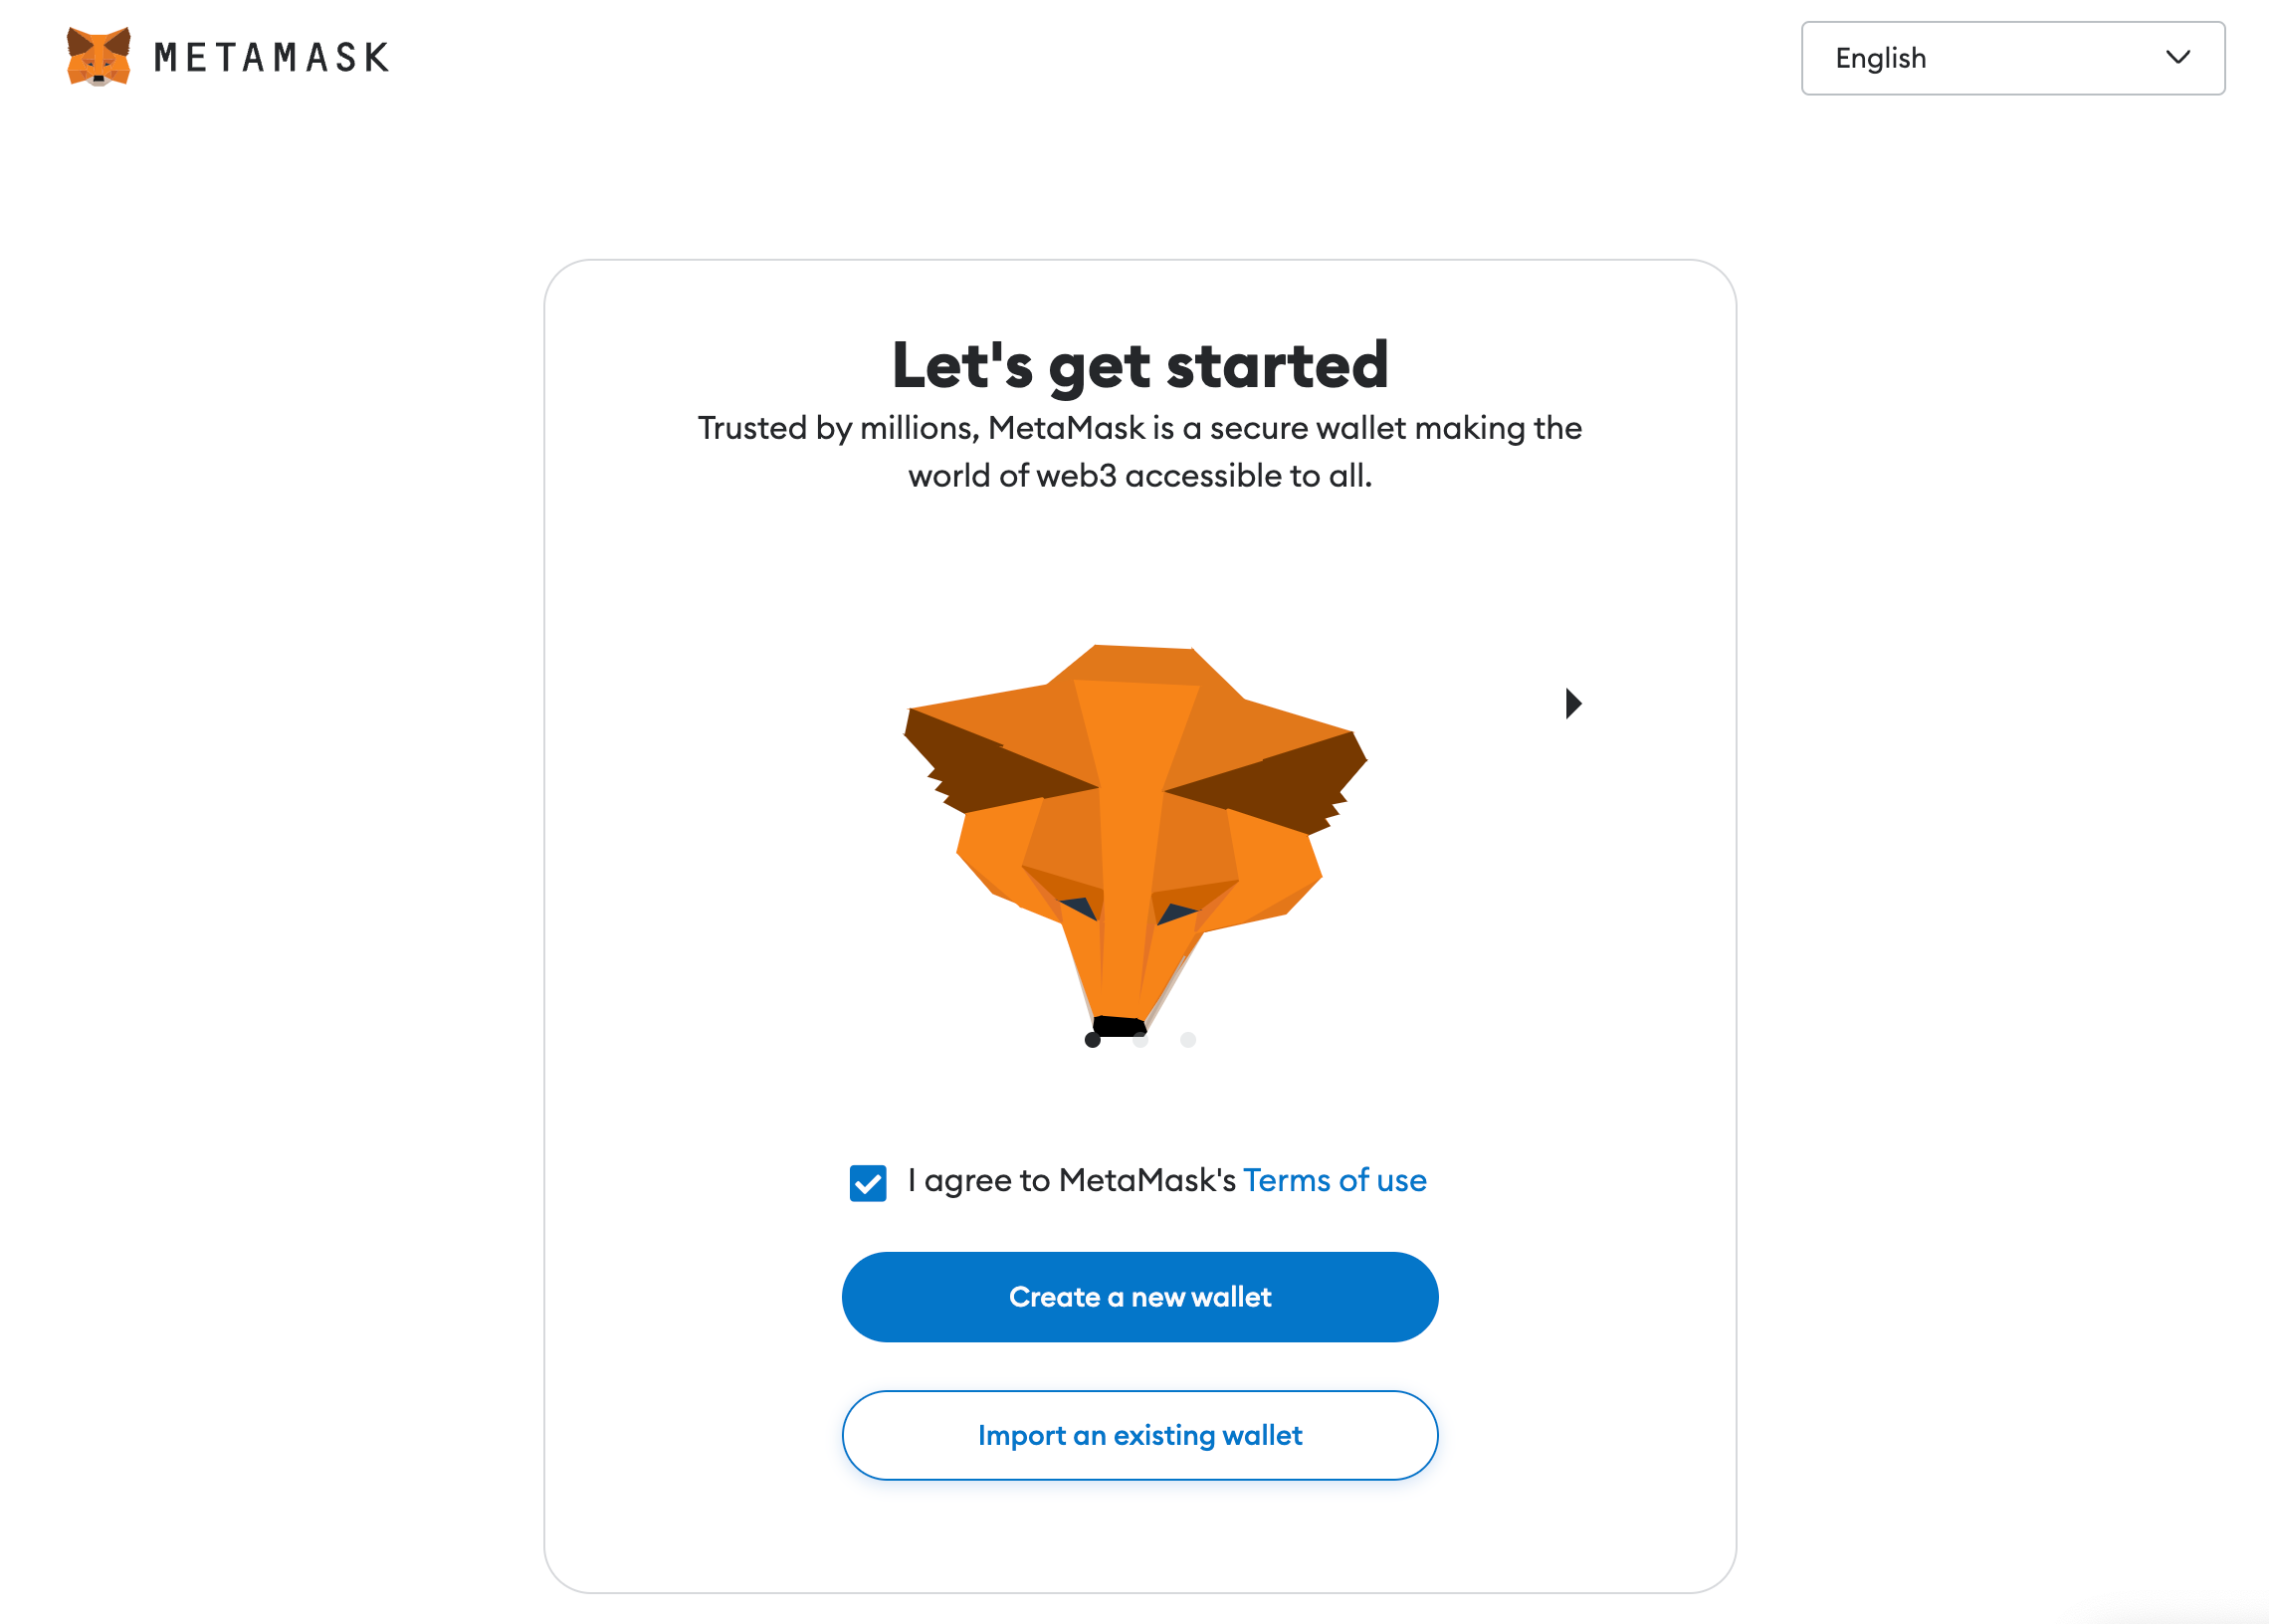
Let’s now take that exact Recovery Phrase and set up MetaMask. Download MetaMask and install it.
Click Import an Existing Wallet and add the Recovery Seed you used to create your wallet in the PHILApp.
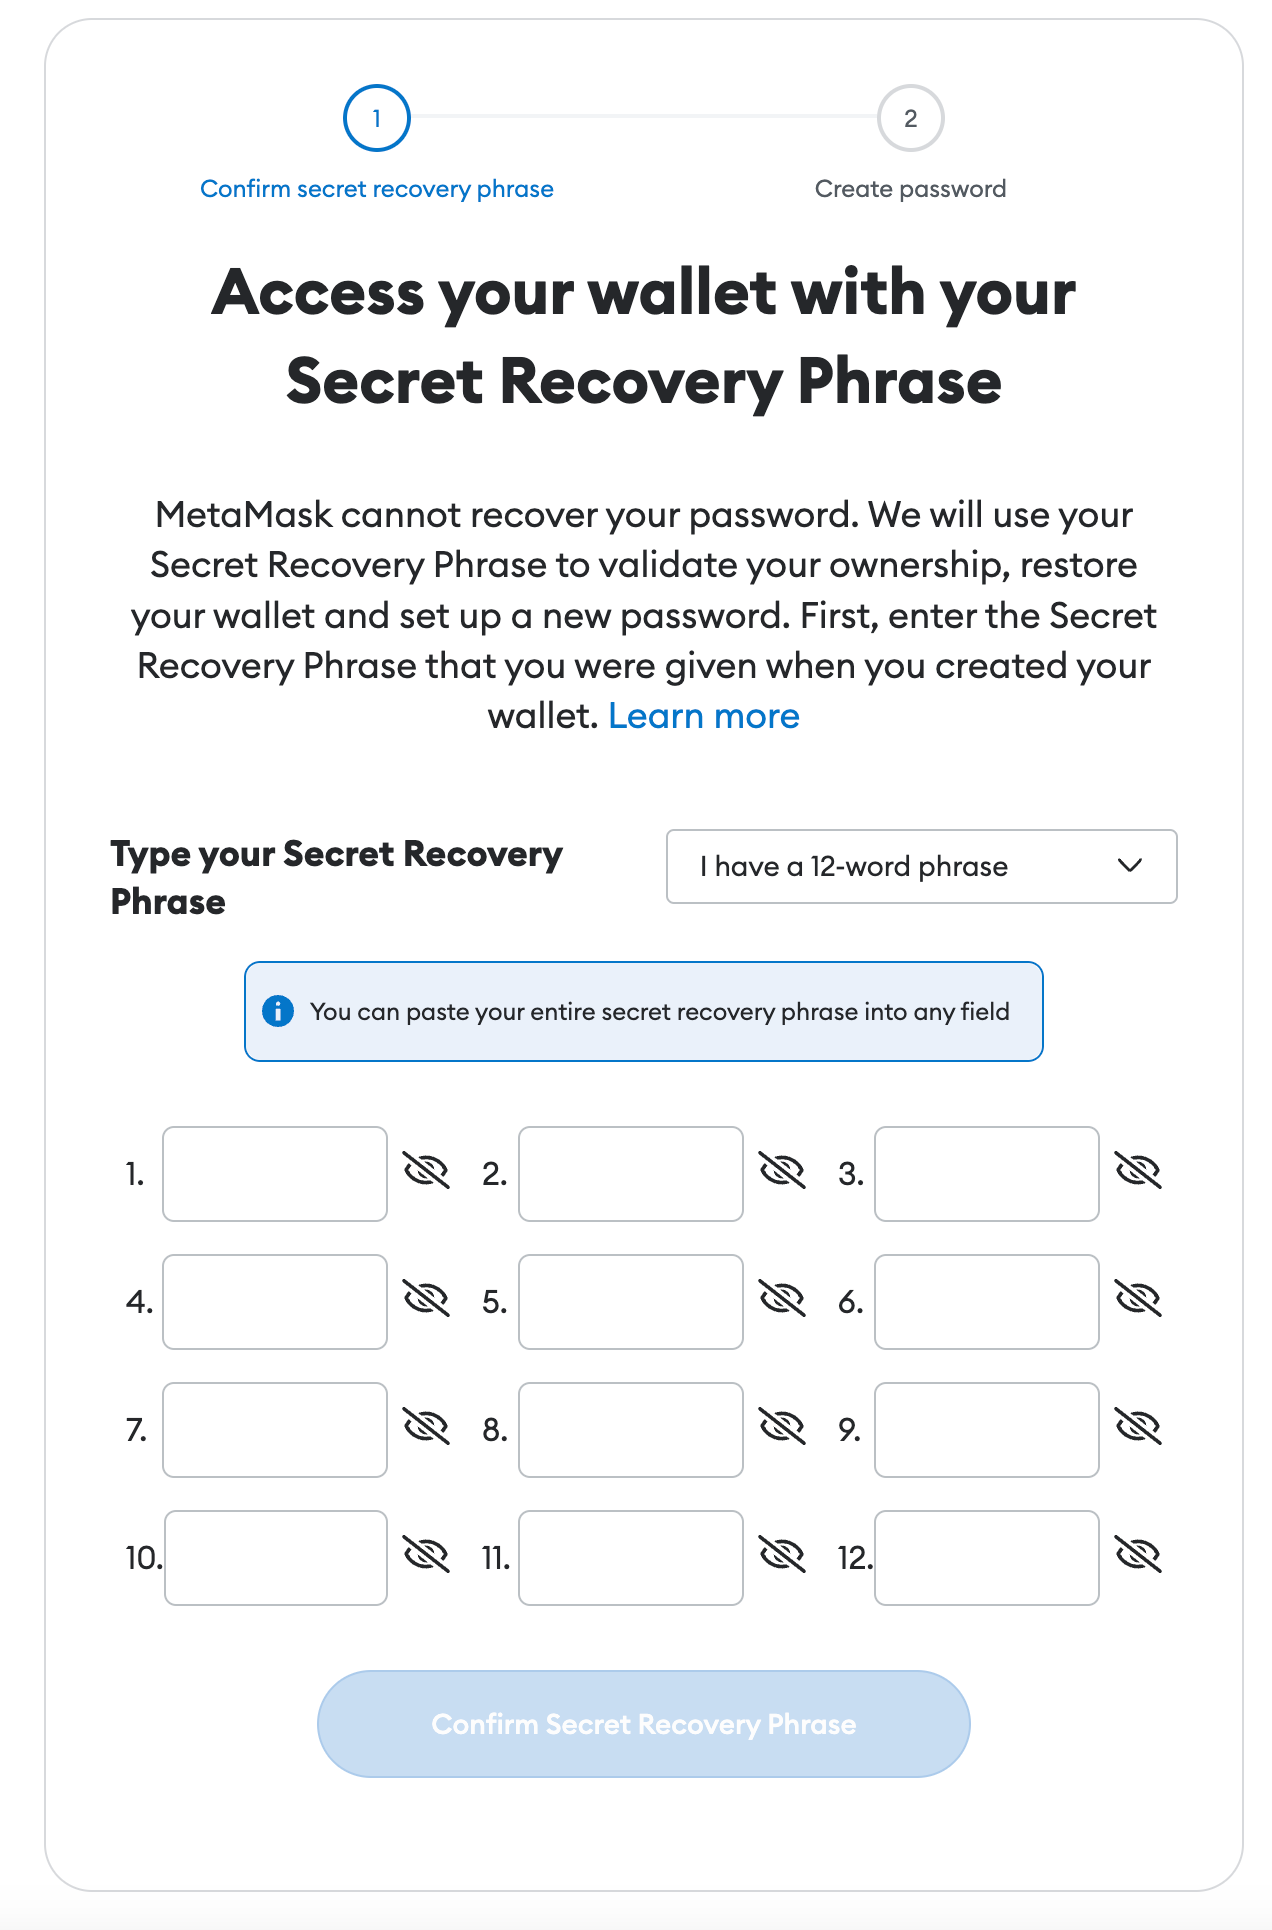
After you enter your recovery seed, click Confirm Secret Recovery Phrase and add a password to MetaMask to secure. The address in the PHILApp should match the address in MetaMask.
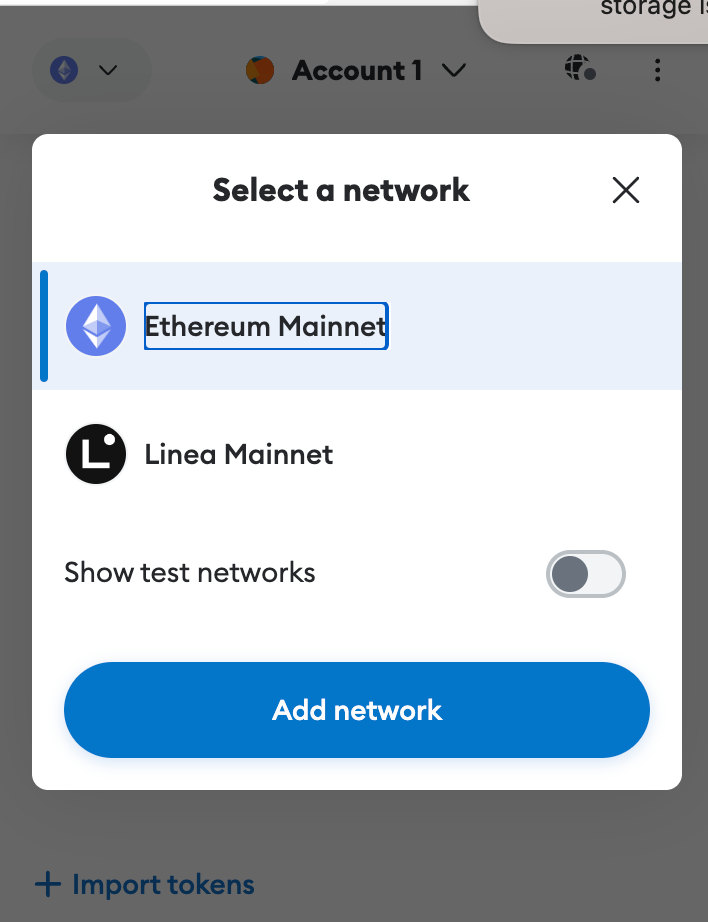
Now let’s add the BNB chain

We now have BNB configured in MetaMask and PHILApp. Let’s now purchase some BNB. I am going to use Crypto.com.
Tap Buy Crypto and choose BNB Coin.

Next, grab the BNB address from PHILApp and withdraw your coins to that address. I have now successfully sent my funds to PHILApp.

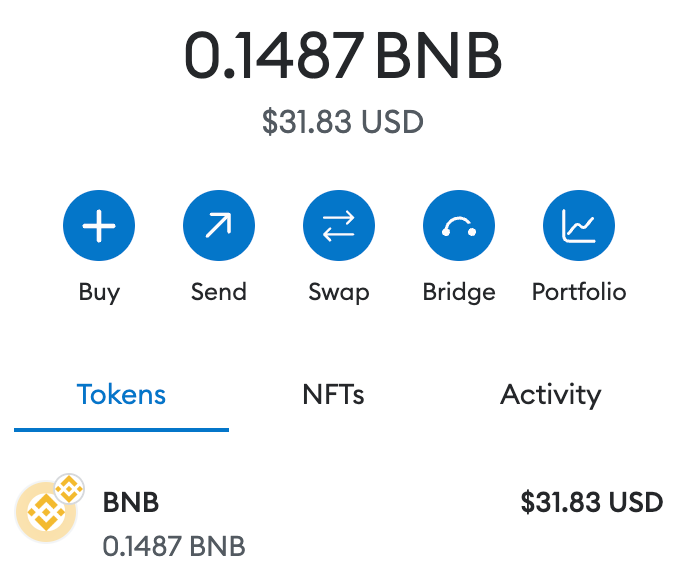
My PHILCOIN is now in my MetaMask Wallet and PHILApp.

The next and final step is to convert BNB to PHL. I like to do it using Pancakeswap.
Link: http://pancakeswap.finance
I’ll now connect MM (MetaMask) to Pancakeswap and make the trade. I always leave a few dollars of BNB to make future transactions (needed to stake and unstake in PHILApp).
NOTE: Slippage should be set to 2%. I have seen the swap fail if it is less. Here is what the swap looks like.

Click Swap and you now have PHILCOIN. You stake it in the app to earn additional rewards.
Welcome to Give to Earn!
