

How Do I setup ARCULUS Hardware Wallet and Store NFT's?
How Do I setup ARCULUS Hardware Wallet and Store NFT's?
In this 2-Part Series, we will explore setting up the Arculus wallet and purchasing and storing NFT's using Wallet Connect.

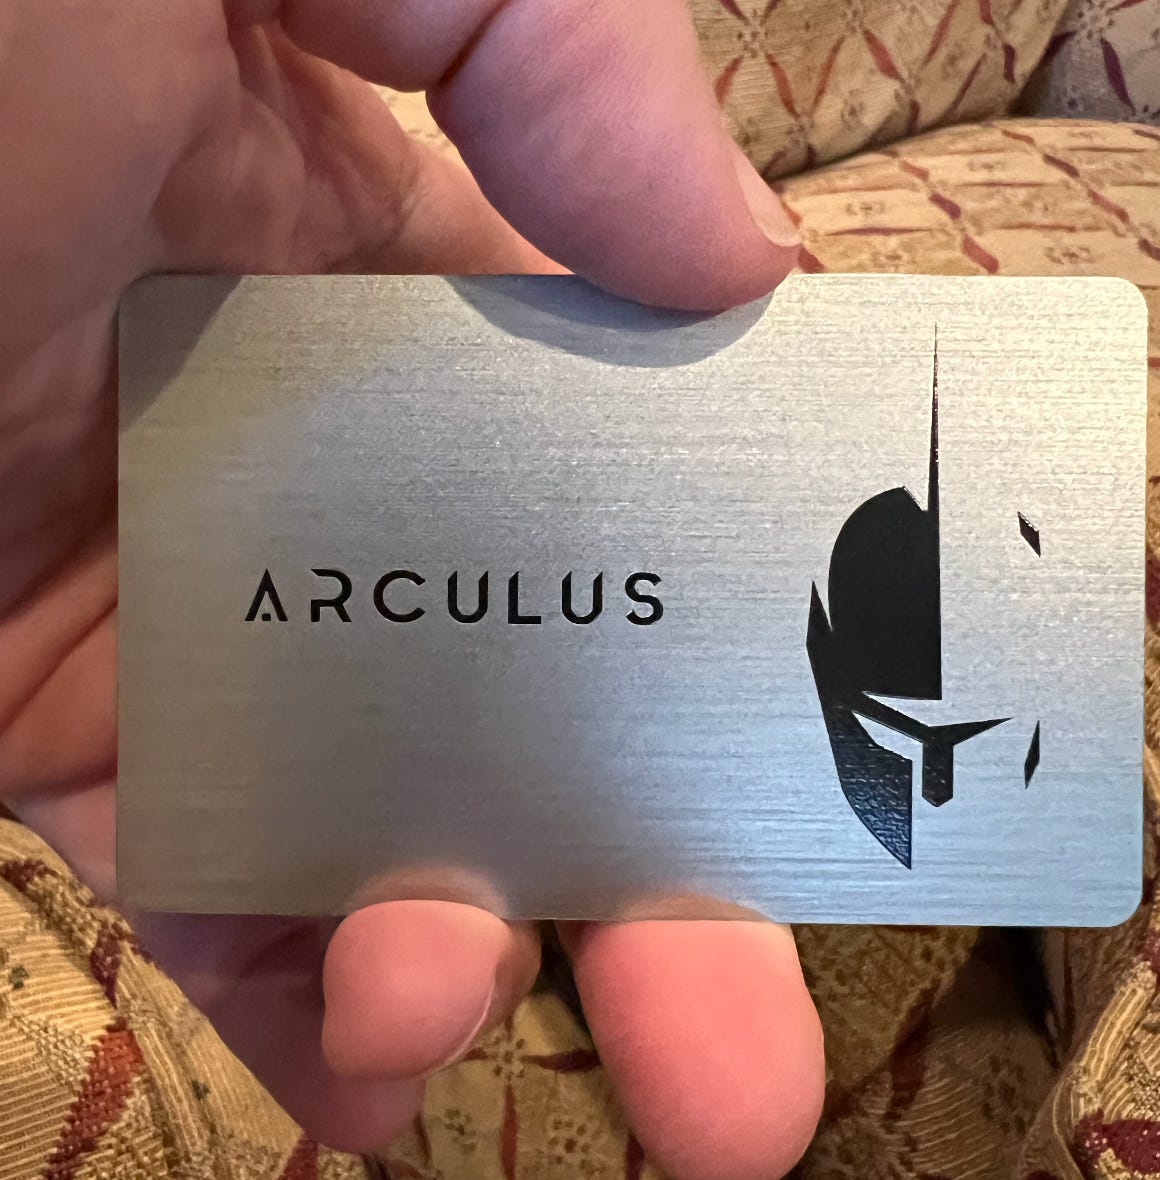
Hardware Wallets are a must. One of my favorite wallets is the Arculus wallet. In this 2-part series, we will show you how to setup the Arculus hardware wallet as well as store NFT’s on the wallet. I’ll have a few surprises as well.
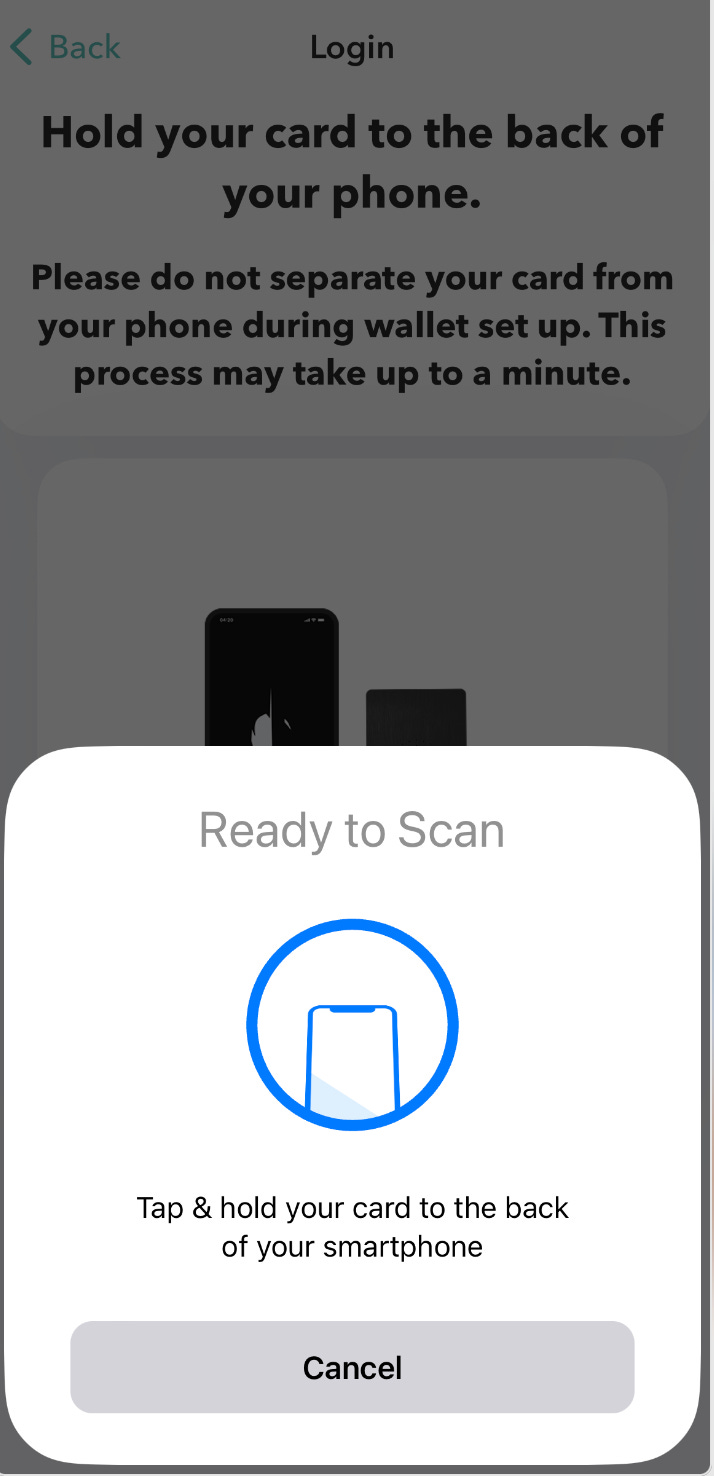
We will begin by downloading the Arculus wallet to the iPhone or Android. After install, open Arculus and tap Get Started. Next, Accept the Terms and Conditions and hold the back of the card to the phone.
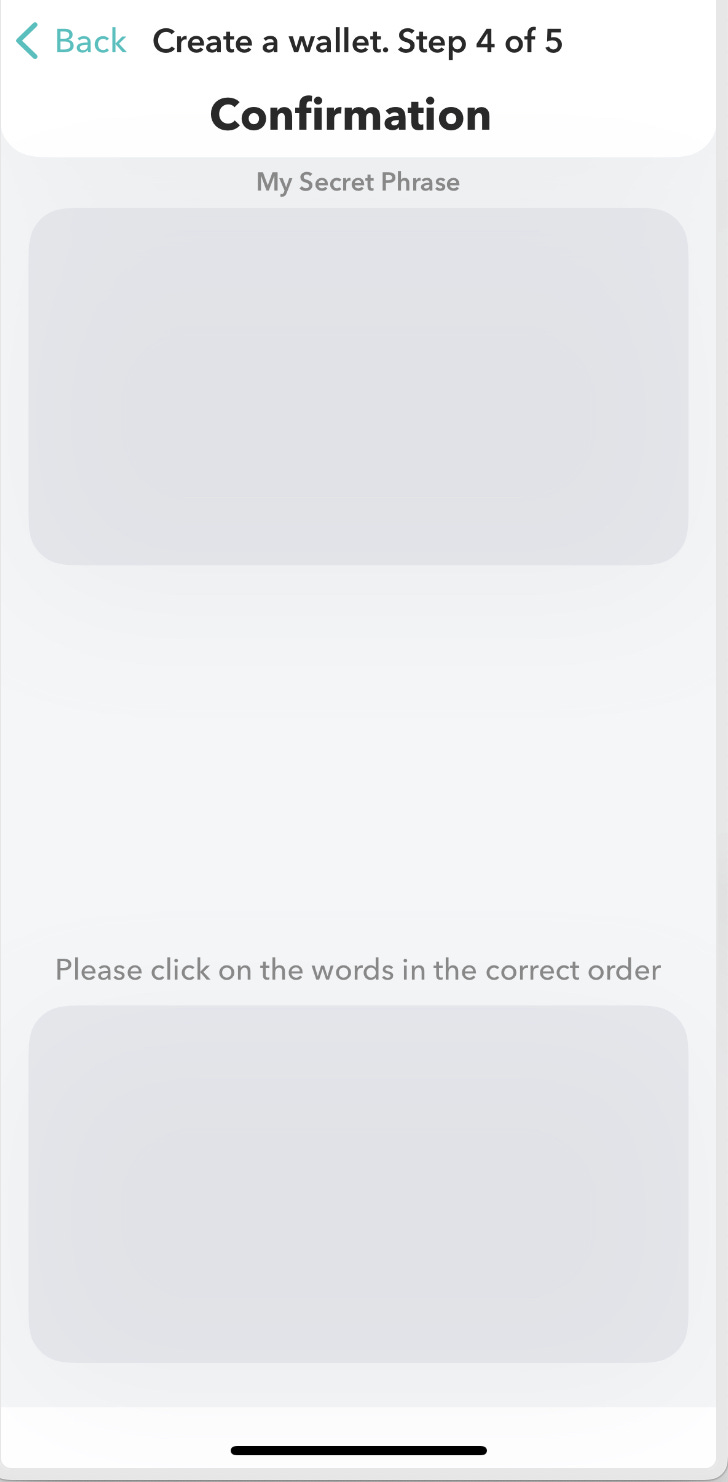
Tap Create New Wallet and enter a pin code. Confirm the pin code and tap and hold the card to the back of the phone. It will create the wallet. At this point, your recovery seed will appear. Please write it down in a safe place offline. Tap I Wrote Down the Phrase and enter it as shown below.
Your Wallet is now setup. Let’s now turn on some coins we want such as Matic. Open Arculus and Tap Add Assets. Slide Matic to on.
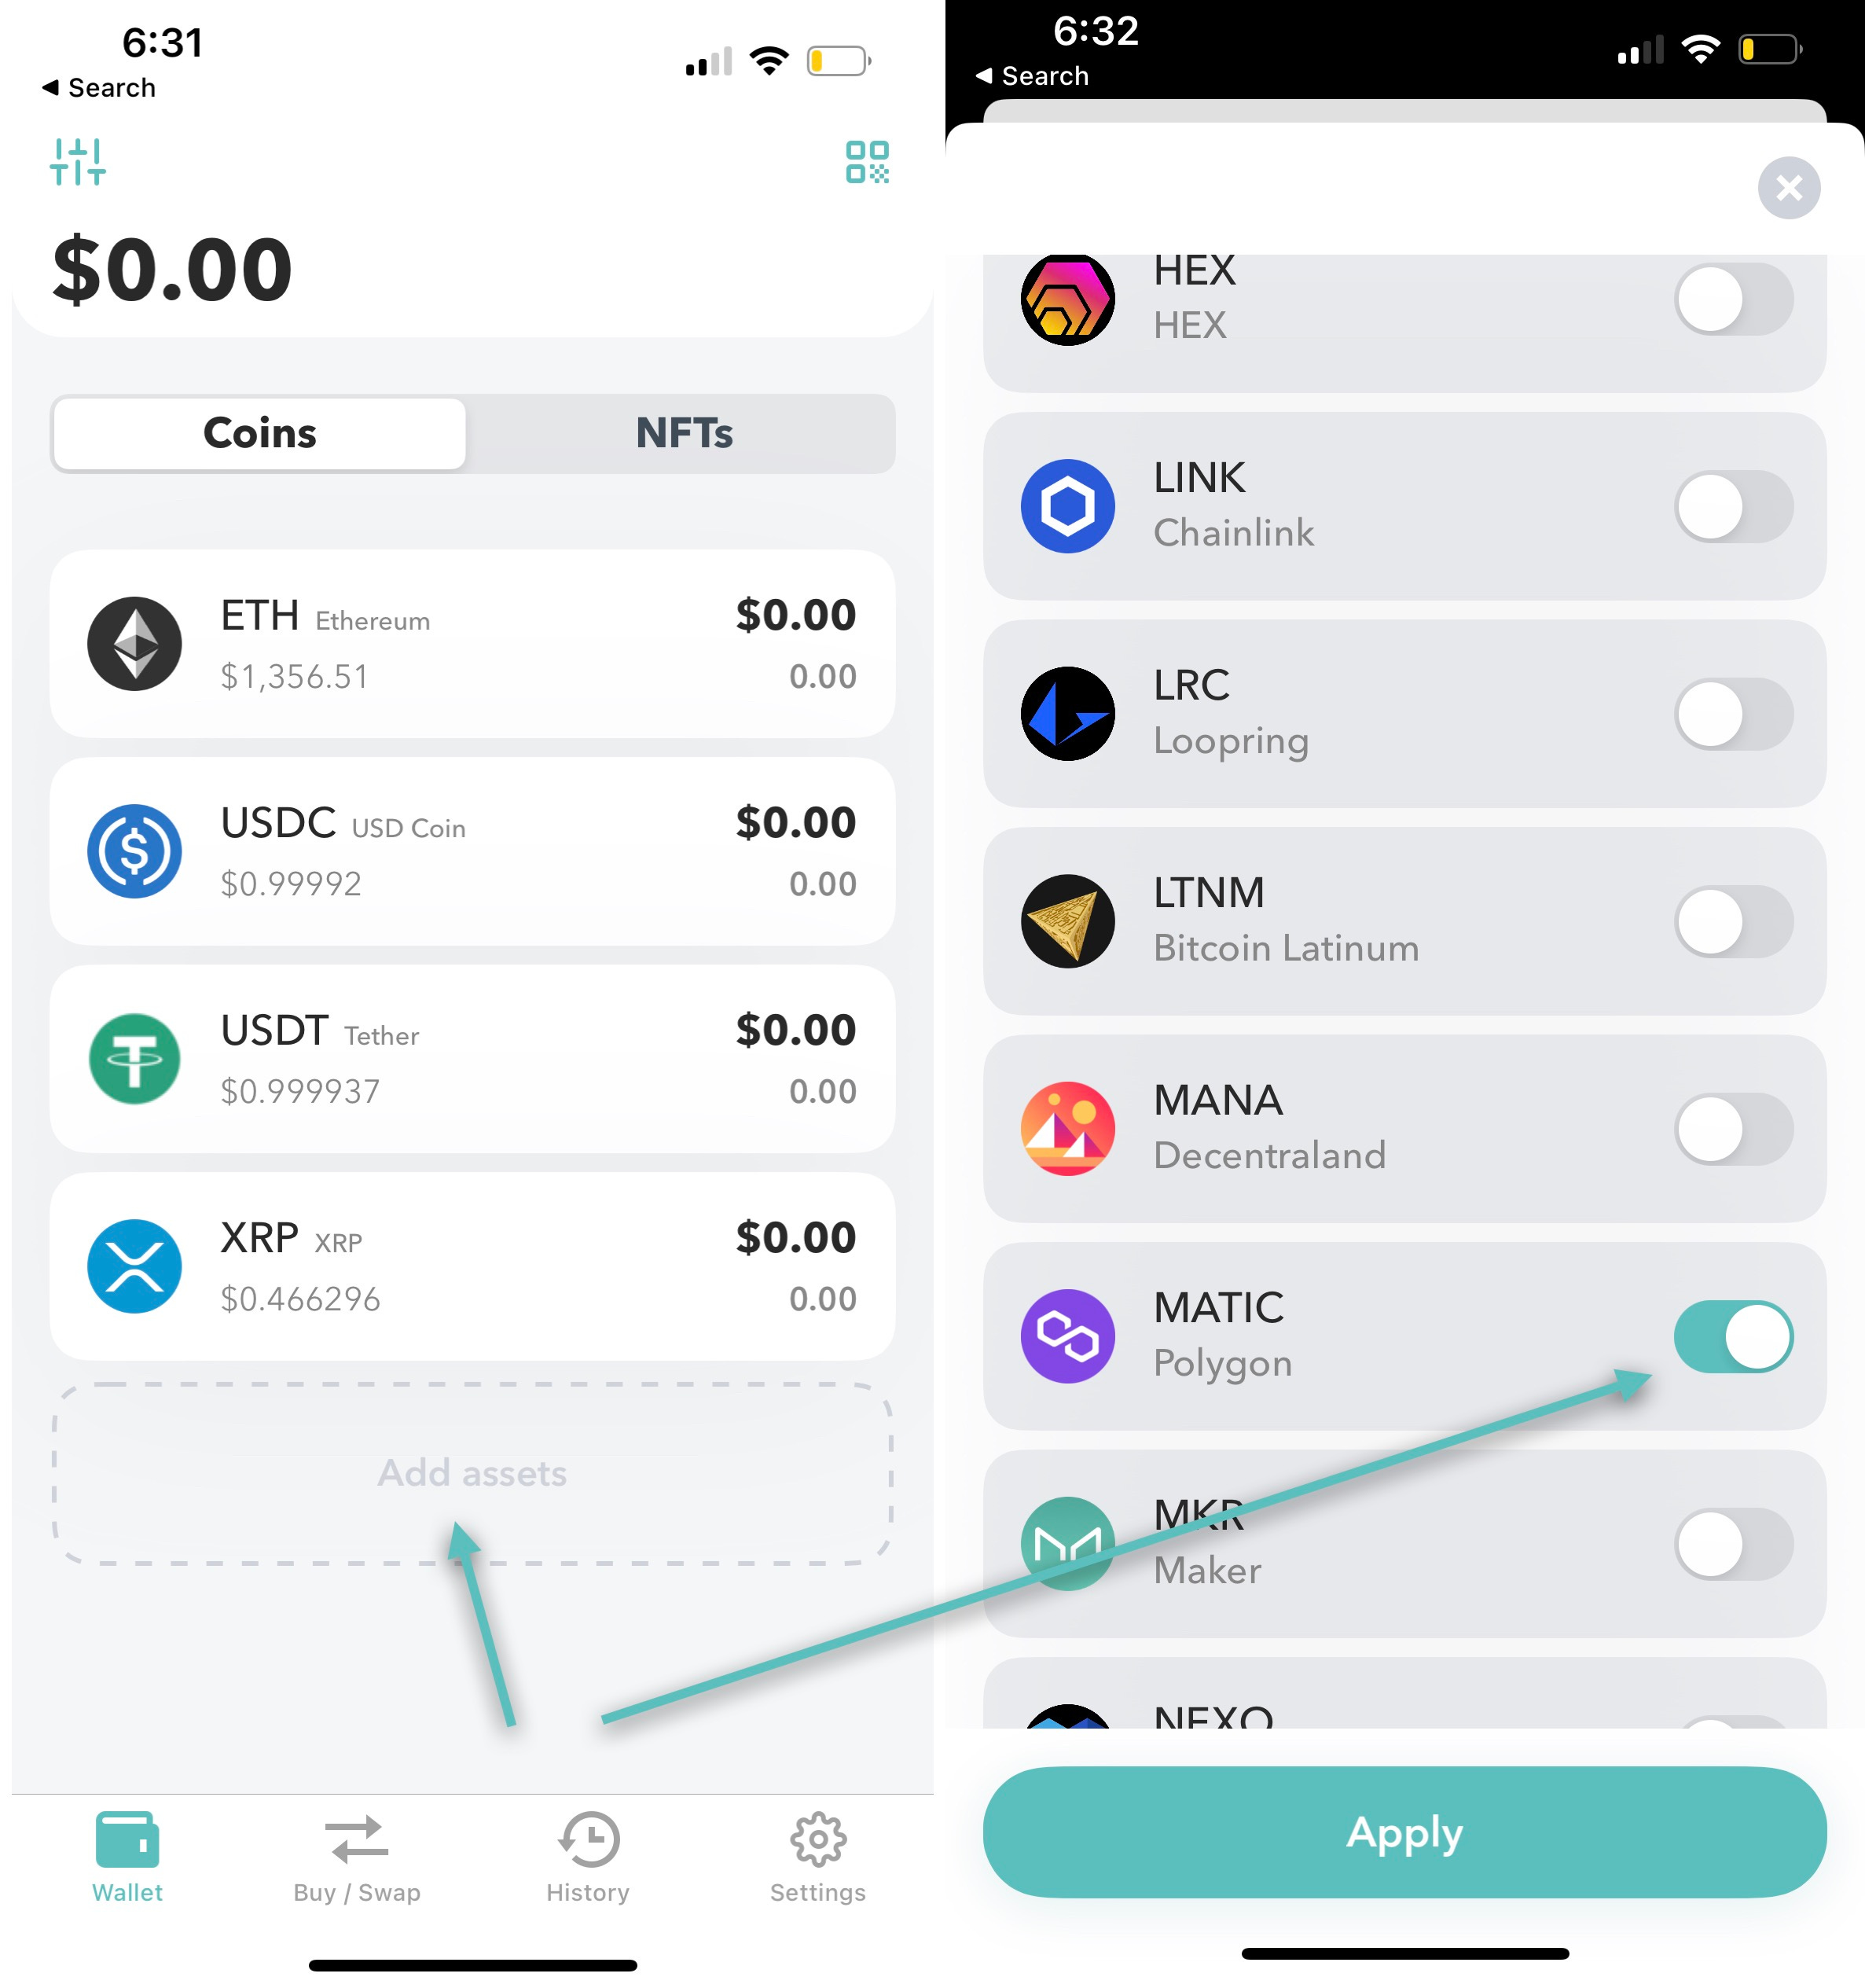
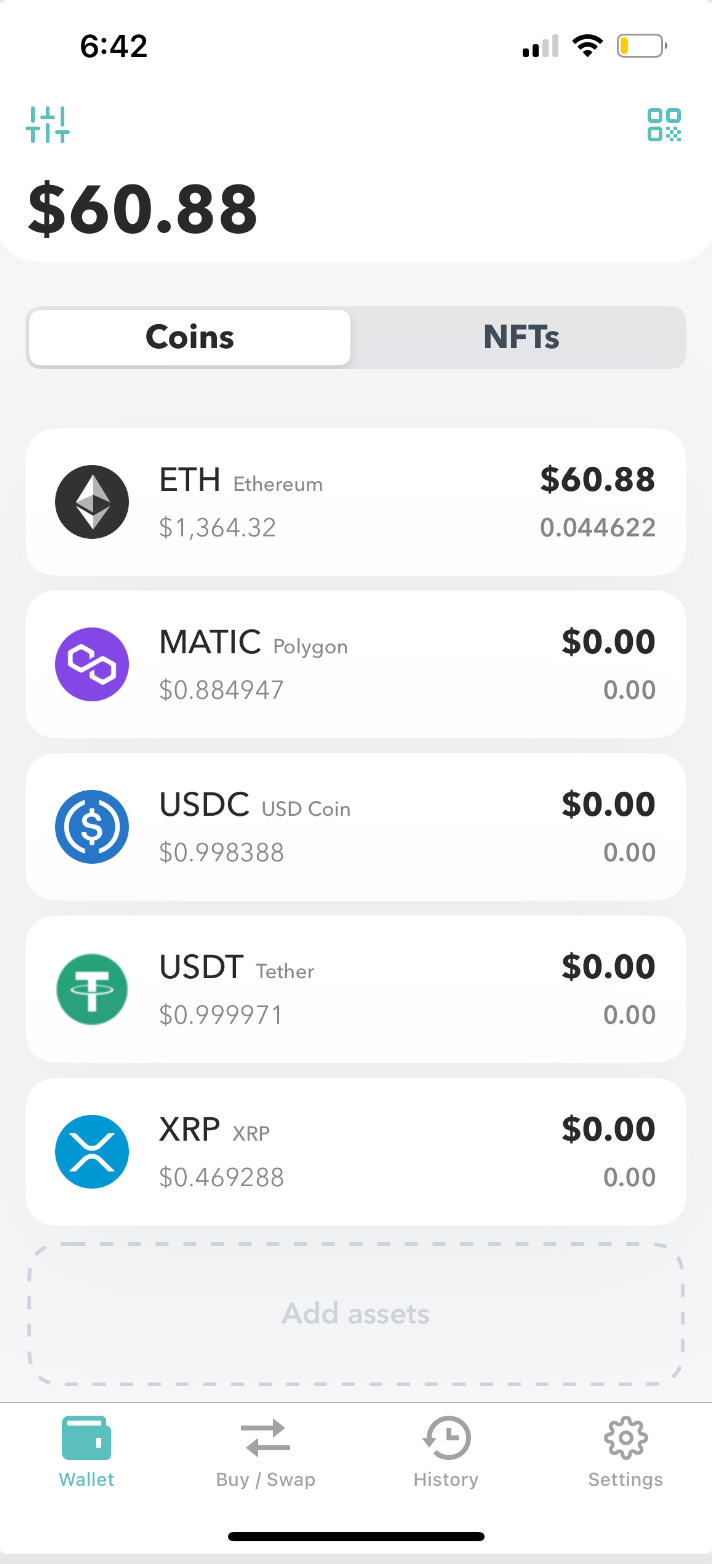
Click Apply and your assets are now available. Let’s now send some Ethereum to the Wallet. I’ll purchase ETH in Coinbase and send them to Arculus. If you tap on the coin and click receive, you will get the applicable receiving address.
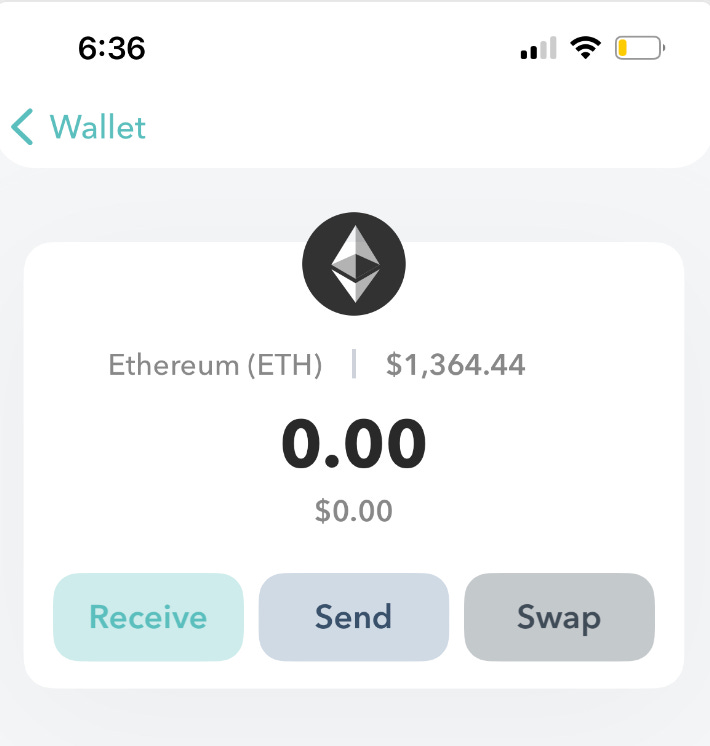
We now have Ethereum.
In my next post, I am going to purchase an NFT using Wallet Connect and the Arculus wallet.